40 Easy Drawing Ideas for Kids (Simple Step by Step)
June 12, 2025 · By Scribbloo
drawing ideaskids
Here are 40 easy drawing ideas for kids, grouped by theme and built from circles, ovals, and lines. Each one starts from a simple shape, so a child can pick any idea and start in seconds. No skill needed. Grab a pencil and paper and let them choose the first thing that makes them smile.
Want printables instead of a blank page? Browse our free animal coloring pages to color in alongside the drawing.
The fastest way to beat "I don't know what to draw" is a list to point at. Below are 40 ideas sorted into themes a child can recognize, each with a one-line tip for the shape to start from. Hand them the list, let them pick, and remind them that the first wobbly line is the hardest part of any drawing.
How to use this list of drawing ideas for kids
Pick one idea and start from its basic shape. Almost everything a child wants to draw is a circle, an oval, a triangle, or a few lines underneath the details, so the shape tip in each idea is the part that actually gets the pencil moving.
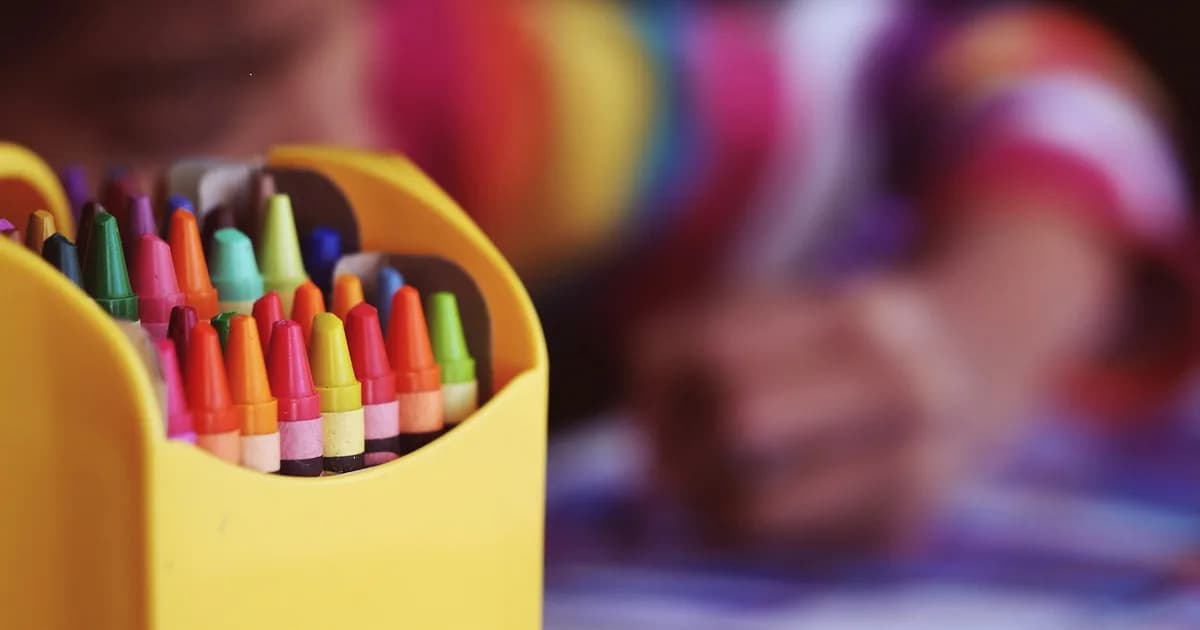
Keep the early lines light. A soft pencil like a 2B (soft and dark) sketches loose shapes you can erase, then color over with crayons, colored pencils, or markers once the drawing feels right. An everyday school pencil works just as well, it will simply look a little lighter.
One rule worth saying out loud. It does not have to look real to be good. If the drawing tells a story your child is proud of, it has already done its job, so cheer the effort and let the lines stay wobbly.
Easy animals to draw
Animals are the most-requested subject for kids, and the friendliest ones are just a couple of rounded shapes with a face. Start with the head shape, add the body, then the small details last.
A round cat
Draw a circle for the head, add two triangle ears on top, then two eyes, a little nose, and a smile. Three short whisker lines on each side finish it. Keep the eyes big and low on the face and it reads as cute, not stern.
A simple fish
A fish is a sideways oval with a triangle stuck on the back for the tail. Add one dot for the eye near the front, a curved line for the mouth, and a couple of curved fins. Stripes or scales come last.
A puppy
Start with an oval for the head, then add two long floppy ears hanging down the sides. Two eyes, a round nose, and a smile turn it into a puppy. A second oval below makes the body if your child wants the whole dog.
A snail
A snail is a spiral for the shell and a long bean shape underneath for the body. Add two little antennae on the head with dots on top, and a smile. The spiral is the whole trick, so draw it slowly from the middle outward.
A bumblebee
Draw an oval for the body, then two or three stripes across it. Add a small circle for the head with big friendly eyes, two oval wings on top, and two antennae. Color the body yellow and the stripes black.
A ladybug
A ladybug is a half-circle (a dome) with a small circle head at the front. Draw a line down the middle of the dome and dot spots on each side. Six tiny legs poke out from underneath.
A friendly lion
Draw a circle for the face, then a ring of short spikes or loops all the way around it for the mane. Add two round ears peeking out, two eyes, a heart-shaped nose, and a smile. The mane is what makes it a lion rather than a cat.
An owl
An owl is one big rounded body shape with two huge circle eyes near the top. Add a small triangle beak between the eyes, two little ear tufts, and a pair of wings down the sides. Big eyes make it look wide awake and sweet.
Easy things in nature to draw
Nature ideas are forgiving because no two trees or clouds look alike, so there is no "wrong" version. These are perfect for a child who freezes when a drawing has to be exact.
A smiling sun
Draw a circle, then add straight lines or little triangles poking out all the way around for the rays. Two dots and a curved smile give it a face. This is often the very first thing a child draws on purpose, and it always works.
A leafy tree
Draw two lines coming up for the trunk, then a big bumpy cloud shape on top for the leaves. Add a few branch lines inside if you like. A round fruit tree, a tall pine made of stacked triangles, or a bare winter tree are easy variations.
A puffy cloud
A cloud is a row of bumps joined into one soft shape, like a line of circles squished together along the bottom. Add a face for a happy cloud, or a few slanted lines underneath for rain.
A flower
Draw a small circle for the center, then add petal shapes (ovals or rounded points) all the way around it. A line below makes the stem, and two leaves finish it. Five or six petals is plenty.
A rainbow
Draw one curved arc, then stack more arcs underneath it, each a little bigger. Color the bands and add a puffy cloud at each end. Three or four arcs look just as cheerful as a full seven.
A mountain
A mountain is a tall triangle with a wavy snow line near the top. Draw two or three behind each other for a range, smaller toward the back, so it looks far away.
A butterfly
Draw a long thin oval down the middle for the body, then a big wing shape on each side, top and bottom. Add two antennae at the head and matching dots or swirls on each wing. Keeping the two sides roughly mirrored is the only trick.
A sunset
Draw a low curved line for the horizon, a half-circle sun sitting on it, and layered bands of color above (yellow, then orange, then pink). It is mostly coloring, so it is a calm, low-pressure idea.
Easy food to draw
Food is a favorite because the shapes are simple and a child gets to invent flavors. These are quick wins for a restless five-minute drawing.
An ice cream cone
Draw a triangle for the cone with a little criss-cross pattern, then one or two circles stacked on top for the scoops. A few dots are sprinkles, and a small oval on top is a cherry.
A slice of cake
Draw a triangle lying on its side for the slice, add a wavy line across the top for frosting, and a candle or a cherry on top. Stripes inside the triangle make the cake layers.
A piece of fruit
An apple is a slightly squished circle with a dip at the top, a small stem, and one leaf. A banana is a long curved shape with flat ends. A bunch of grapes is a cluster of little circles.
A pizza slice
Draw a triangle with a curved crust along the wide end, then dot on circles for pepperoni. Wavy lines are melted cheese. Your child can top it with anything they like.
Easy everyday things to draw
The things around the house are made of squares, rectangles, and circles, so they are some of the most forgiving first drawings of all. Block in the big shape, then add the small details.
A house
Draw a square for the wall, then a triangle sitting on top for the roof. Add a tall rectangle door, a square window or two, and a little chimney with a curl of smoke. This is the classic "first house," and almost every child draws it at some point.
A car
Draw a long rounded rectangle for the body, then a smaller rounded shape on top for the roof and windows. Add two circles underneath for the wheels (with a small circle inside each), a door line, and a couple of dots for headlights. Boxy or rounded both work.
A boat
Draw a wide curved shape like the bottom half of an oval for the hull, then a straight line going up for the mast. Add a triangle sail on the mast, a tiny flag at the top, and a wavy line under the boat for water.
Fun, silly, and imaginary ideas
When a child wants to invent rather than copy, open-ended prompts work best. There is no reference to get "wrong," so these build confidence fast.
A monster with three eyes
Start with any blobby body shape, then add the wrong number of everything: three eyes, five legs, two tails. Silly is the point, so the messier the better.
A dream treehouse
Draw a big tree, then a box house tucked in the branches with a little door, a window, and a rope ladder. Let your child add the secret features they wish it had.
A superhero pet
Draw a normal animal, then add a cape, a mask, and a lightning bolt. A superhero hamster or a flying goldfish is exactly the kind of idea kids love to explain afterward.
A robot
A robot is a stack of rectangles: a box head, a box body, and tube arms and legs. Add bolts, buttons, an antenna, and a square screen for a face. Straight lines make it easy.
A rocket ship
Draw a tall oval or bullet shape for the body, a triangle nose at the top, two fins at the bottom, and a circle window. Add curvy flames underneath for blast-off.
A friendly dragon
Draw a bean shape for the body, a circle head, two triangle wings, and a row of little triangles down the back for spikes. A puff of fire from the mouth and you have a dragon. Our fantasy coloring pages have more dragons to color.
A unicorn
Draw a horse shape (an oval body, a curved neck, a head), then add the magic: a spiral horn, a flowing mane, and a swishy tail. Big eyes and rounded edges keep it cute.
A castle
A castle is a row of tall rectangles (the towers) with little squares cut from the tops like a crown, joined by a wall. Add a big arched door and a flag on each tower.
Drawing games that feel like play
Sometimes the best idea is not a thing to draw but a way to draw. These turn a quiet activity into a game two or more kids can share.
- Finish the scribble. One person draws a random squiggle, the other turns it into a picture.
- Roll-a-monster. Roll a die for the number of eyes, legs, and arms, then draw the creature you get.
- Blind drawing. Draw something simple with your eyes closed, then laugh at the result together.
- Pass the picture. Each person adds one shape, folds the paper, and passes it on.
- Draw the story. Read a page of a book, then draw what you just heard.
Turn the drawing into a story
A drawing is a great first step into storytelling, which builds sequencing and early writing skills along the way. Once a child has a character on the page, ask who it is and what happens next.
- Add a speech bubble so the character can say something.
- Draw a "before" and "after" picture of the same scene.
- Make a three-box comic strip across the page.
- Write one sentence under the drawing to go with it.
A superhero banana with a backstory is far more fun to draw than a banana on its own, and the writing sneaks in without feeling like homework.
What kids can draw at each age
Children move through fairly predictable stages of drawing, first mapped by art educator Viktor Lowenfeld in his 1947 textbook Creative and Mental Growth and still taught in art education today (per Encyclopedia.com's entry on Viktor Lowenfeld). Ages are a guide, not a rule, and every child moves at their own pace.
Around 1 to 4 years (the scribbling stage). Toddlers start with random scribbles, then gradually controlled lines, loops, and circles. At this age drawing is about the joy of making marks and learning that their hand can make things happen, not about drawing a "thing," so any crayon and big paper is perfect. (Lowenfeld's scribble stage, roughly ages 2 to 4.)
Around 4 to 7 years (the first pictures). Children begin drawing recognizable people and objects, often starting with a "tadpole" figure: a circle for the head with arms and legs coming straight off it. This is the sweet spot for the simple-shape ideas above, like the smiling sun, the cat, and the house.
Around 7 to 9 years and up. Kids add a ground line, a sky, and more detail, and they start caring whether things look "right." This is when step-by-step drawing and gentle technique tips (keep your guidelines light, start with the big shapes) help most. (Lowenfeld's preschematic and schematic stages.)
Why drawing is worth the mess
Drawing is one of the best low-cost ways to build the hand control kids need for writing. Holding a pencil, controlling pressure, and making deliberate marks are the same fine-motor and hand-eye skills that feed into handwriting, which is why occupational therapists use drawing and tracing as pre-writing practice. It also gives kids a calm, screen-free way to focus and to show feelings they may not have words for yet.
So when a drawing turns into a smudgy mess, that is not a failed picture, it is a child practicing the exact skills they will lean on at school. Praise the effort and keep the paper coming.
Frequently asked questions
What are easy things to draw for kids?
The easiest things to draw are built from one or two simple shapes: a smiling sun (a circle with rays), a cat (a circle with triangle ears), a house (a square with a triangle roof), a fish (an oval with a triangle tail), and a flower (a circle with petals around it). Start with the shape, add the details last.
What age can a child start drawing?
Most children start making marks around 12 to 18 months, once they can grip a chunky crayon. By age 3 many draw circles and lines on purpose, and around 4 to 5 they begin drawing recognizable people and objects. It is never too early to hand a toddler a crayon and big paper.
How do I help a child who says they can't draw?
Praise the effort, not the result, and draw alongside them so they are not performing. Break the picture into simple shapes ("first a circle, then two ears") so it feels doable, and ask them to tell you about their drawing instead of judging how it looks. Confidence grows from finishing, not from being perfect.
What should kids draw with?
For young kids, chunky crayons or washable markers are easy to grip and non-toxic, which matters most for toddlers and classrooms. From about age 5, a soft 2B pencil (soft and dark, easy to erase) plus an eraser is a great sketching combo, with colored pencils or markers for color. An everyday school pencil works fine too.
Pick one and start today
The whole list comes down to one habit: start from a simple shape, then add the details. A circle becomes a sun, a cat, or a smiling cloud depending on what your child adds next, and that one move turns a blank page into something they are proud of.
Sit down together, let them pick the idea that made them grin, and draw it alongside them. When they want to keep going without a blank page, print a sheet from our free animal coloring pages and color one in together.