Learn how to draw a rose the easy way, starting from a simple spiral and a few petals. A beginner-friendly, step-by-step guide with no experience needed.
Roses look fancy, but they start from shapes you already know how to draw. In this guide you'll learn how to draw a rose one calm step at a time, building from a little spiral in the middle out to soft, curling petals. No experience needed, and no fancy supplies. If you can draw a wobbly circle, you can draw a rose.
We'll keep every line light at first so mistakes are easy to fix, then darken the lines you love at the end. Grab a pencil and let's begin.
What you'll need
- A pencil (a soft 2B is nice, but any pencil works)
- An eraser
- Plain paper
- Optional: a black pen for outlining, plus crayons, markers, or colored pencils
How to draw a rose step by step
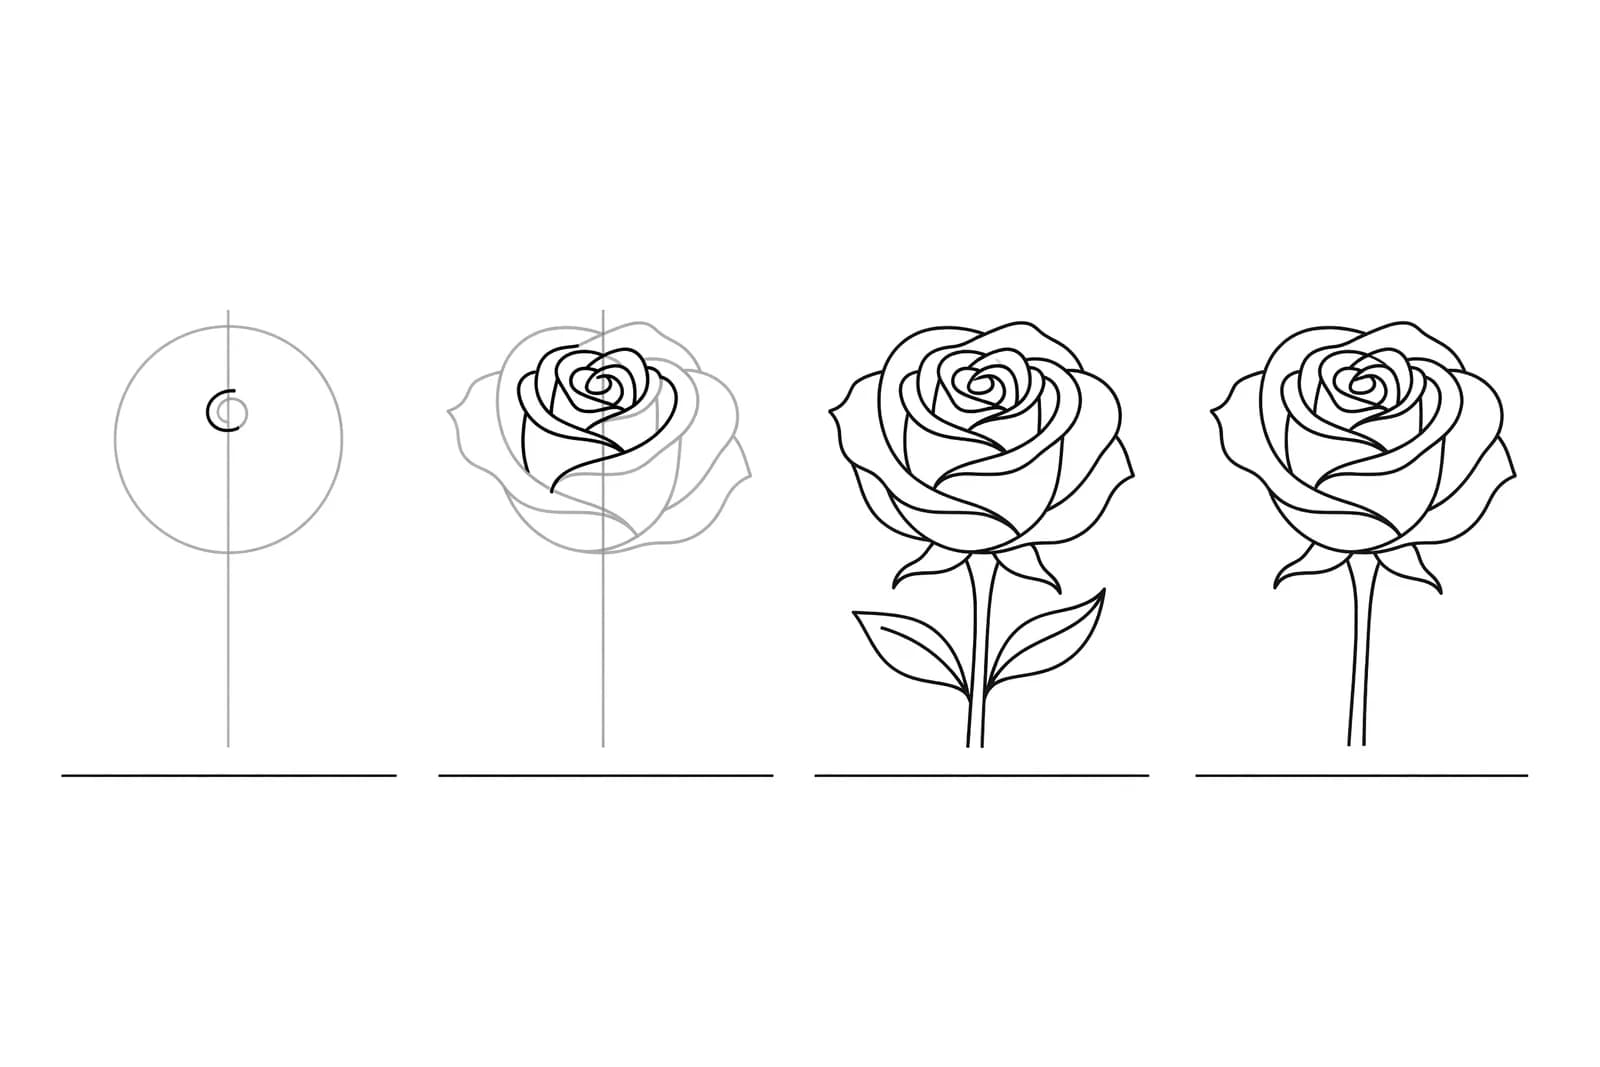
This is the foundation-first method most instructors teach: block in the big shapes lightly, then work from the center outward. Botanical illustrator Lu Loram Martin starts a rose the same way, lightly sketching "two circles to mark the overall shape of the rose and the centre 'bud'" before any petals go down.
Step 1: Draw the center spiral
Start in the middle of your paper and draw a small spiral, like a tiny snail shell. Keep it loose and a little uneven. This little swirl is the heart of the rose, the part the petals will wrap around. Press lightly so you can adjust it later.
Step 2: Wrap the first petals around the spiral
Draw a few short, curved lines that hug the spiral, like a cup cradling the center. These first inner petals are small and curl inward. Think of soft "U" and "n" shapes that overlap. They don't need to be neat. Real roses are a little messy, and that's what makes them look real.
Step 3: Add the bigger outer petals
Now build outward with larger curved petals that open up and fold back at the top edges. Each petal is a wide, rounded shape that overlaps the one before it. Stagger them so the gaps between petals don't line up. Three to five outer petals is plenty for an easy rose.
Step 4: Shape the bottom of the bloom
Bring the outer petals down to a point at the base, so the whole flower looks like a rounded cup sitting on a small tip. This is where the rose meets the stem. A gentle "V" shape at the bottom pulls all the petals together.
Step 5: Draw the stem and leaves
Add two lines coming down from the base of the bloom for the stem. Then draw one or two leaves on the sides. A rose leaf is a pointed oval with a center vein and a slightly jagged edge. Add a couple of small thorns along the stem if you like.
Step 6: Darken your favorite lines and erase the rest
Go over the lines you want to keep with a firmer stroke or a black pen. Then erase the leftover spiral marks and any guide lines peeking out. Your rose suddenly looks finished. Add light curved lines inside the petals to show the folds, and you're done.
Step 7: Color it in
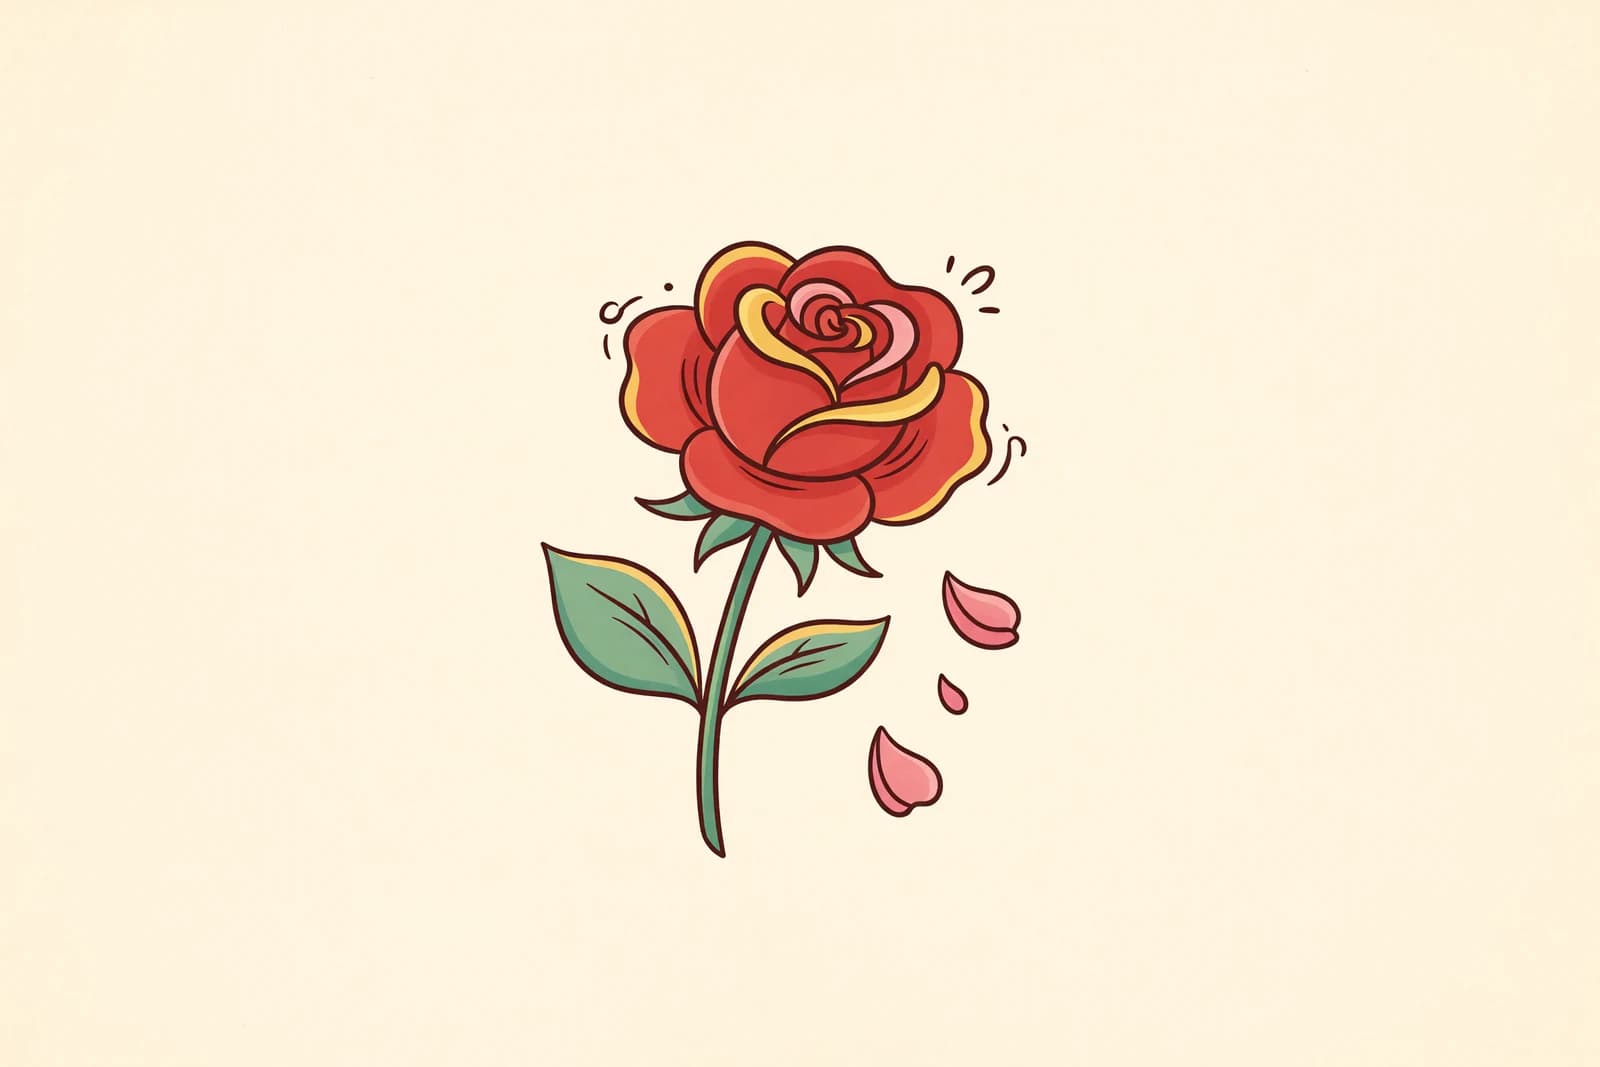
Roses come in every color, so have fun. Reds, pinks, peach, yellow, even blue if you want a fantasy rose. Color the petals slightly darker near the center and lighter at the edges to give the bloom some depth. Color the leaves and stem green.
What artists recommend (and the mistakes they warn about)
The single biggest tip from drawing teachers is to slow down and look before you commit a line. As Betty Edwards puts it in her classic guide Drawing on the Right Side of the Brain, "drawing is the art of seeing" — the rose on your page only gets as good as the shapes you actually notice. Here is what that looks like in practice:
- Block the big shapes first. Instructors at Draw Botanical, run by botanical artist Wendy Hollender, tell students to "focus on big shapes first" and warn against the most common beginner mistake: fixating on individual petals too soon, which distorts the whole flower. Get the overall ball-and-bud shape right, then add petals.
- Keep early lines light. The craft site Gathered recommends "loose lines" for your first sketch so you can fix the proportions without heavy erasing. Sketch like a whisper, darken later.
- Work outward in simple "C" shapes. Lu Loram Martin builds the petals "working outwards from the bud," each one a soft overlapping curve. Stagger them so the gaps don't line up and the rose looks natural, not even.
- Start small. A small rose is easier to control than a giant one. Draw a few little ones to warm up your hand first.
Fun variations to try
- A simple rose: Skip the spiral and draw a single swirl with three petals around it. Great for cards and doodles.
- A rose bud: Draw a closed teardrop shape with a few overlapping petals wrapping the top, sitting in a little green cup (the sepal).
- A cute cartoon rose: Give it big round petals and add a smiley face for a kawaii sticker look.
- A rose bush: Draw a few roses at different heights with lots of leaves between them.
Frequently asked questions
How do you draw a rose for beginners? Start with a small spiral in the center, then wrap curved petals around it from the inside out, getting bigger as you go. Add a stem and leaves last. Building outward from the spiral is the easiest method.
What is the easiest flower to draw? A daisy or a tulip is even simpler than a rose, but the spiral method above makes roses beginner-friendly too. If a full rose feels tricky, start with the simple three-petal version.
How do you make a rose look realistic? Vary the petal sizes, overlap them, and shade the petals darker near the center and lighter at the edges. A few curved fold lines inside each petal add a lot of realism.
Keep drawing and coloring
Now that you can draw a rose, try a whole garden. Learn how to draw a butterfly to flutter above your flowers, or print our free nature coloring pages to color flowers, trees, and more. You've got this.